How to Enhance a Photo to 4K — or 8K and 22K (2026 Guide)
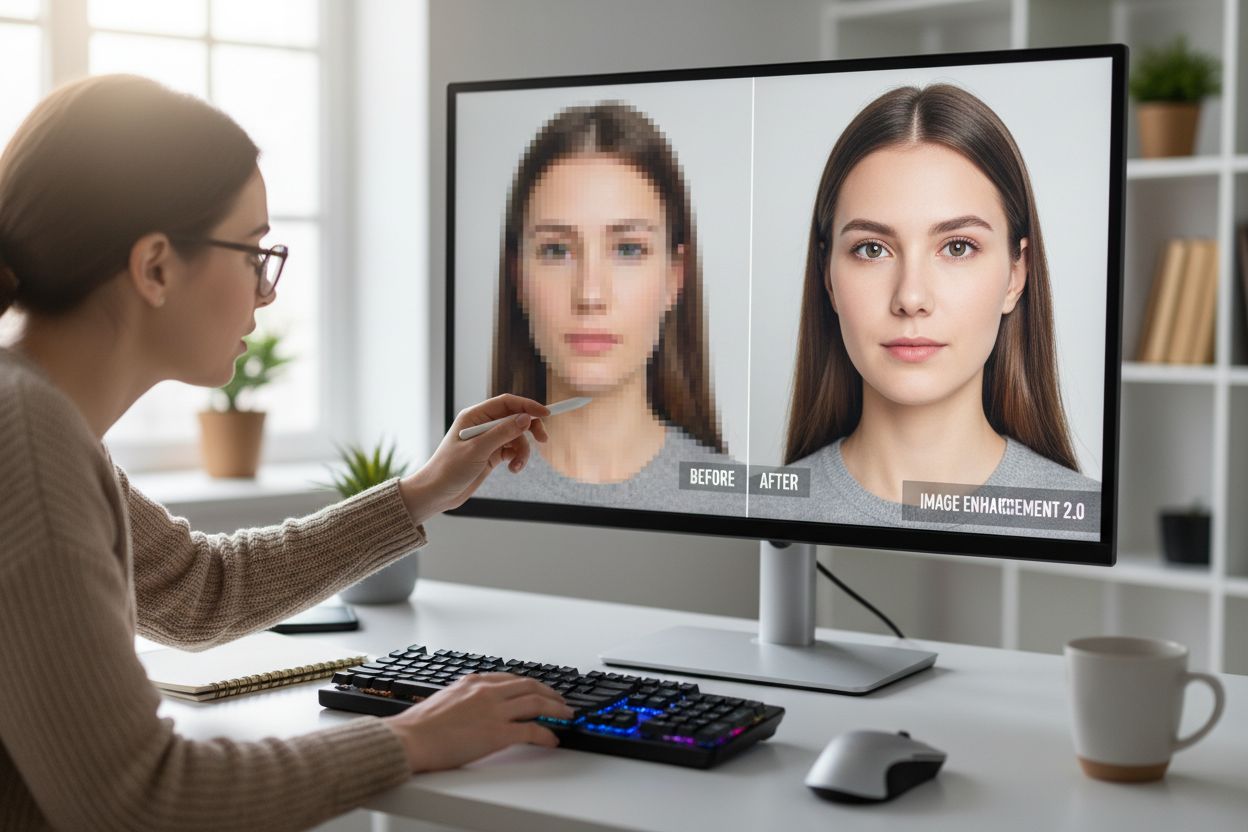
Most photos worth keeping are too small for where you want to use them — a portrait that looks fine on a phone but soft on a monitor, a family shot you'd love to print, an image that falls apart the moment you crop in. Enhancing a photo to 4K fixes that, and modern AI does it well. Here's what "enhancing" actually means, how much resolution you really need, and how to do it in a couple of minutes.
What "enhancing to 4K" actually means
4K means roughly 4,000 pixels on the long edge — 3840×2160 at standard video dimensions. Older enlargement worked by interpolation: the software averages neighbouring pixels to invent the ones in between, which makes the file bigger but not sharper. An AI upscaler does something different — detail reconstruction. A model trained on millions of image pairs infers what skin texture, hair strands, fabric weave and edges should look like at the higher resolution, and rebuilds them. The result is a genuinely sharper image, not just a larger one.
The honest caveat: reconstruction produces plausible detail, not recovered truth. It can't bring back information the camera never captured — but for the soft, small or compressed photos people usually start with, the difference is night and day.
How much resolution do you actually need?
Higher tiers cost more credits and more processing time, so match the output to the job rather than defaulting to the biggest number:
- 4K is enough for screens and everyday prints. Monitors, social media, websites and prints up to roughly A4 or 12 inches at 300 DPI. For most photos, this is the right answer.
- 8K earns its keep for large prints and big displays. Poster-size prints, portfolio images people will view up close on large monitors, and anything shown on a big 4K or 8K screen where softness becomes visible.
- 22K is for the extremes. Billboards and trade-show graphics, archival masters you want to future-proof, and cropping freedom — at 22K you can cut a small detail out of a frame and it still holds up at print size.
If you're unsure, start at 4K. You can always run the same source image again at a higher tier.
The five tiers on Hermosso's upscaler
Most enhancers stop at 4K. Hermosso's AI Image Upscaler starts there and goes well past it, with five tiers — and the two top ones are where it moves beyond the rest of the market:
- 4K (50 credits) — the faithful default: a 4× upscale to true 4K with face enhancement. Right for soft portraits, small web images and everyday jobs.
- 4K Ultra (100 credits) — restoration-grade enhancement for soft, compressed or damaged shots. Slower, but it recovers what the standard tier leaves behind.
- Creative (50 credits) — re-imagines detail rather than restoring it, for a stylized, hyper-detailed look. Great for art and concepts; keep it off photos where likeness matters.
- 8K Gigapixel (150 credits) — print-grade output powered by Topaz Gigapixel, the long-standing reference for faithful upscaling.
- 22K Max (400 credits) — the largest output available anywhere. SeedVR2 rebuilds texture, text and faces at up to 22K, for billboards, archival masters and heavy cropping.
Credits never expire, and new accounts get 400 free on signup — enough to test any tier on your own photos, 22K Max included.
How to enhance a photo to 4K, step by step
- Open the AI Image Upscaler and upload your photo — or pick one from your gallery if you already have an account.
- Choose a tier. 4K is the right default. Step up to 4K Ultra for compressed or damaged sources, or to 8K Gigapixel or 22K Max when you need print- or billboard-scale output.
- Generate. The faithful tiers take seconds; the top tiers take a little longer.
- Check the result at full zoom. Faces and text are the tell — that's where weak upscalers fall apart.
- Download it. The enhanced image lands in your gallery at up to 22K, ready to save at full resolution. New accounts get 400 free credits, so your first 4K enhancements are free.
Get the most out of it
- Start with the highest-quality source you have. The original file beats a screenshot or a messaging-app copy every time — compression throws away exactly the detail the AI could have used.
- Old or damaged photos: restore first, upscale second. Scratched, faded or black-and-white prints should go through photo restoration before the upscaler — repair lands better at native size, and the upscale then works from a clean image.
- Faces need the right tier. Use the 4K tiers' face enhancement, or SeedVR2's face rebuilding at 22K Max — likeness is where cheap upscalers fail first. And if blur is the real problem rather than size, our guide to unblurring images with AI covers what reconstruction can and can't fix.
- Don't stack passes. Upscale the original, not an already-upscaled copy — a second run adds artifacts, not detail.
- Compare on your own photos. Our best AI upscalers roundup and the Hermosso vs Magnific comparison show where each approach wins.
Try it on your own photos
Upload a few selfies, and Hermosso trains a private AI model of you — then generates studio-quality photos in any style. Your first credits are free.
Create your AI photos →Frequently asked questions
Is 22K overkill for most photos?
Yes, and that's fine — it's not the default. 4K covers screens and everyday prints. 22K exists for billboards, archival masters and extreme cropping, where nothing smaller holds up. Start at 4K and only go higher when the job calls for it.
How much does it cost to enhance a photo to 4K?
The standard 4K tier costs 50 credits, and new accounts get 400 free credits on signup — so your first 4K enhancements are free. Credits never expire, and the Starter plan is $9/month for 5,000 credits if you need more.
Can enhancing fix a blurry or old photo?
Blurriness, yes — AI reconstruction sharpens moderate blur as it enlarges, and the 4K Ultra tier handles heavily compressed or damaged shots. For genuinely old photos with scratches, fading or black-and-white, run photo restoration first, then upscale the repaired image.
What's the difference between 4K, 8K and 22K?
Pixels on the long edge, and the jobs they serve. 4K is about 3,840 pixels — screens and normal prints. 8K is about 7,680 — large prints and big displays. 22K is about 22,000 — billboards, archival masters and deep cropping. On Hermosso they cost 50, 150 and 400 credits respectively.
Where does the enhanced photo go, and how do I get it?
It lands in your Hermosso gallery automatically when the run finishes, and you can download it from there at full resolution. Nothing is posted or shared — the gallery is private to your account.